Mask Instructions
Crafting, pandemic edition.
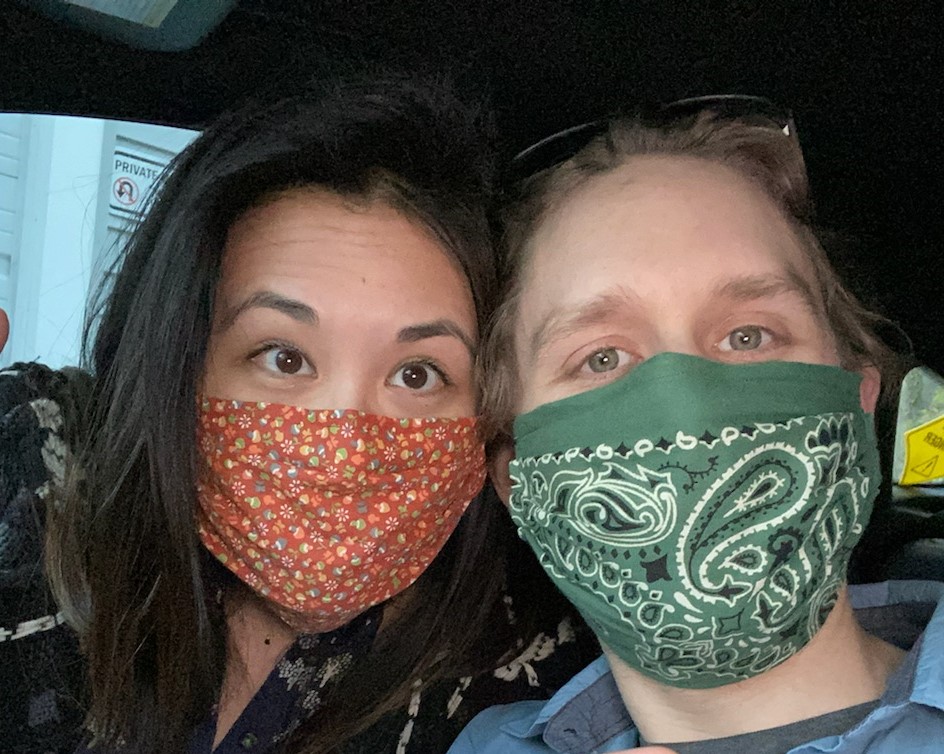
I’ve been making masks over the past few months, and wanted to put my method up with a few pictures in case it’s helpful for anyone. Here’s what they look like finished. They loop around the ears like medical masks, and have a removable nose wire.  Thanks to everyone who sent me pictures! From them, I can tell that my face is smaller than average, so I’m making the masks bigger now 🙂
 Â
 
1 – Cut 9×7.5″ square of two fabrics, one for the front, one for the back. I use 100% cotton quilting fabric for the front, and prefer a t-shirt material/jersey/flannel for the back, since it’s softer against my face. Put them right sides together.

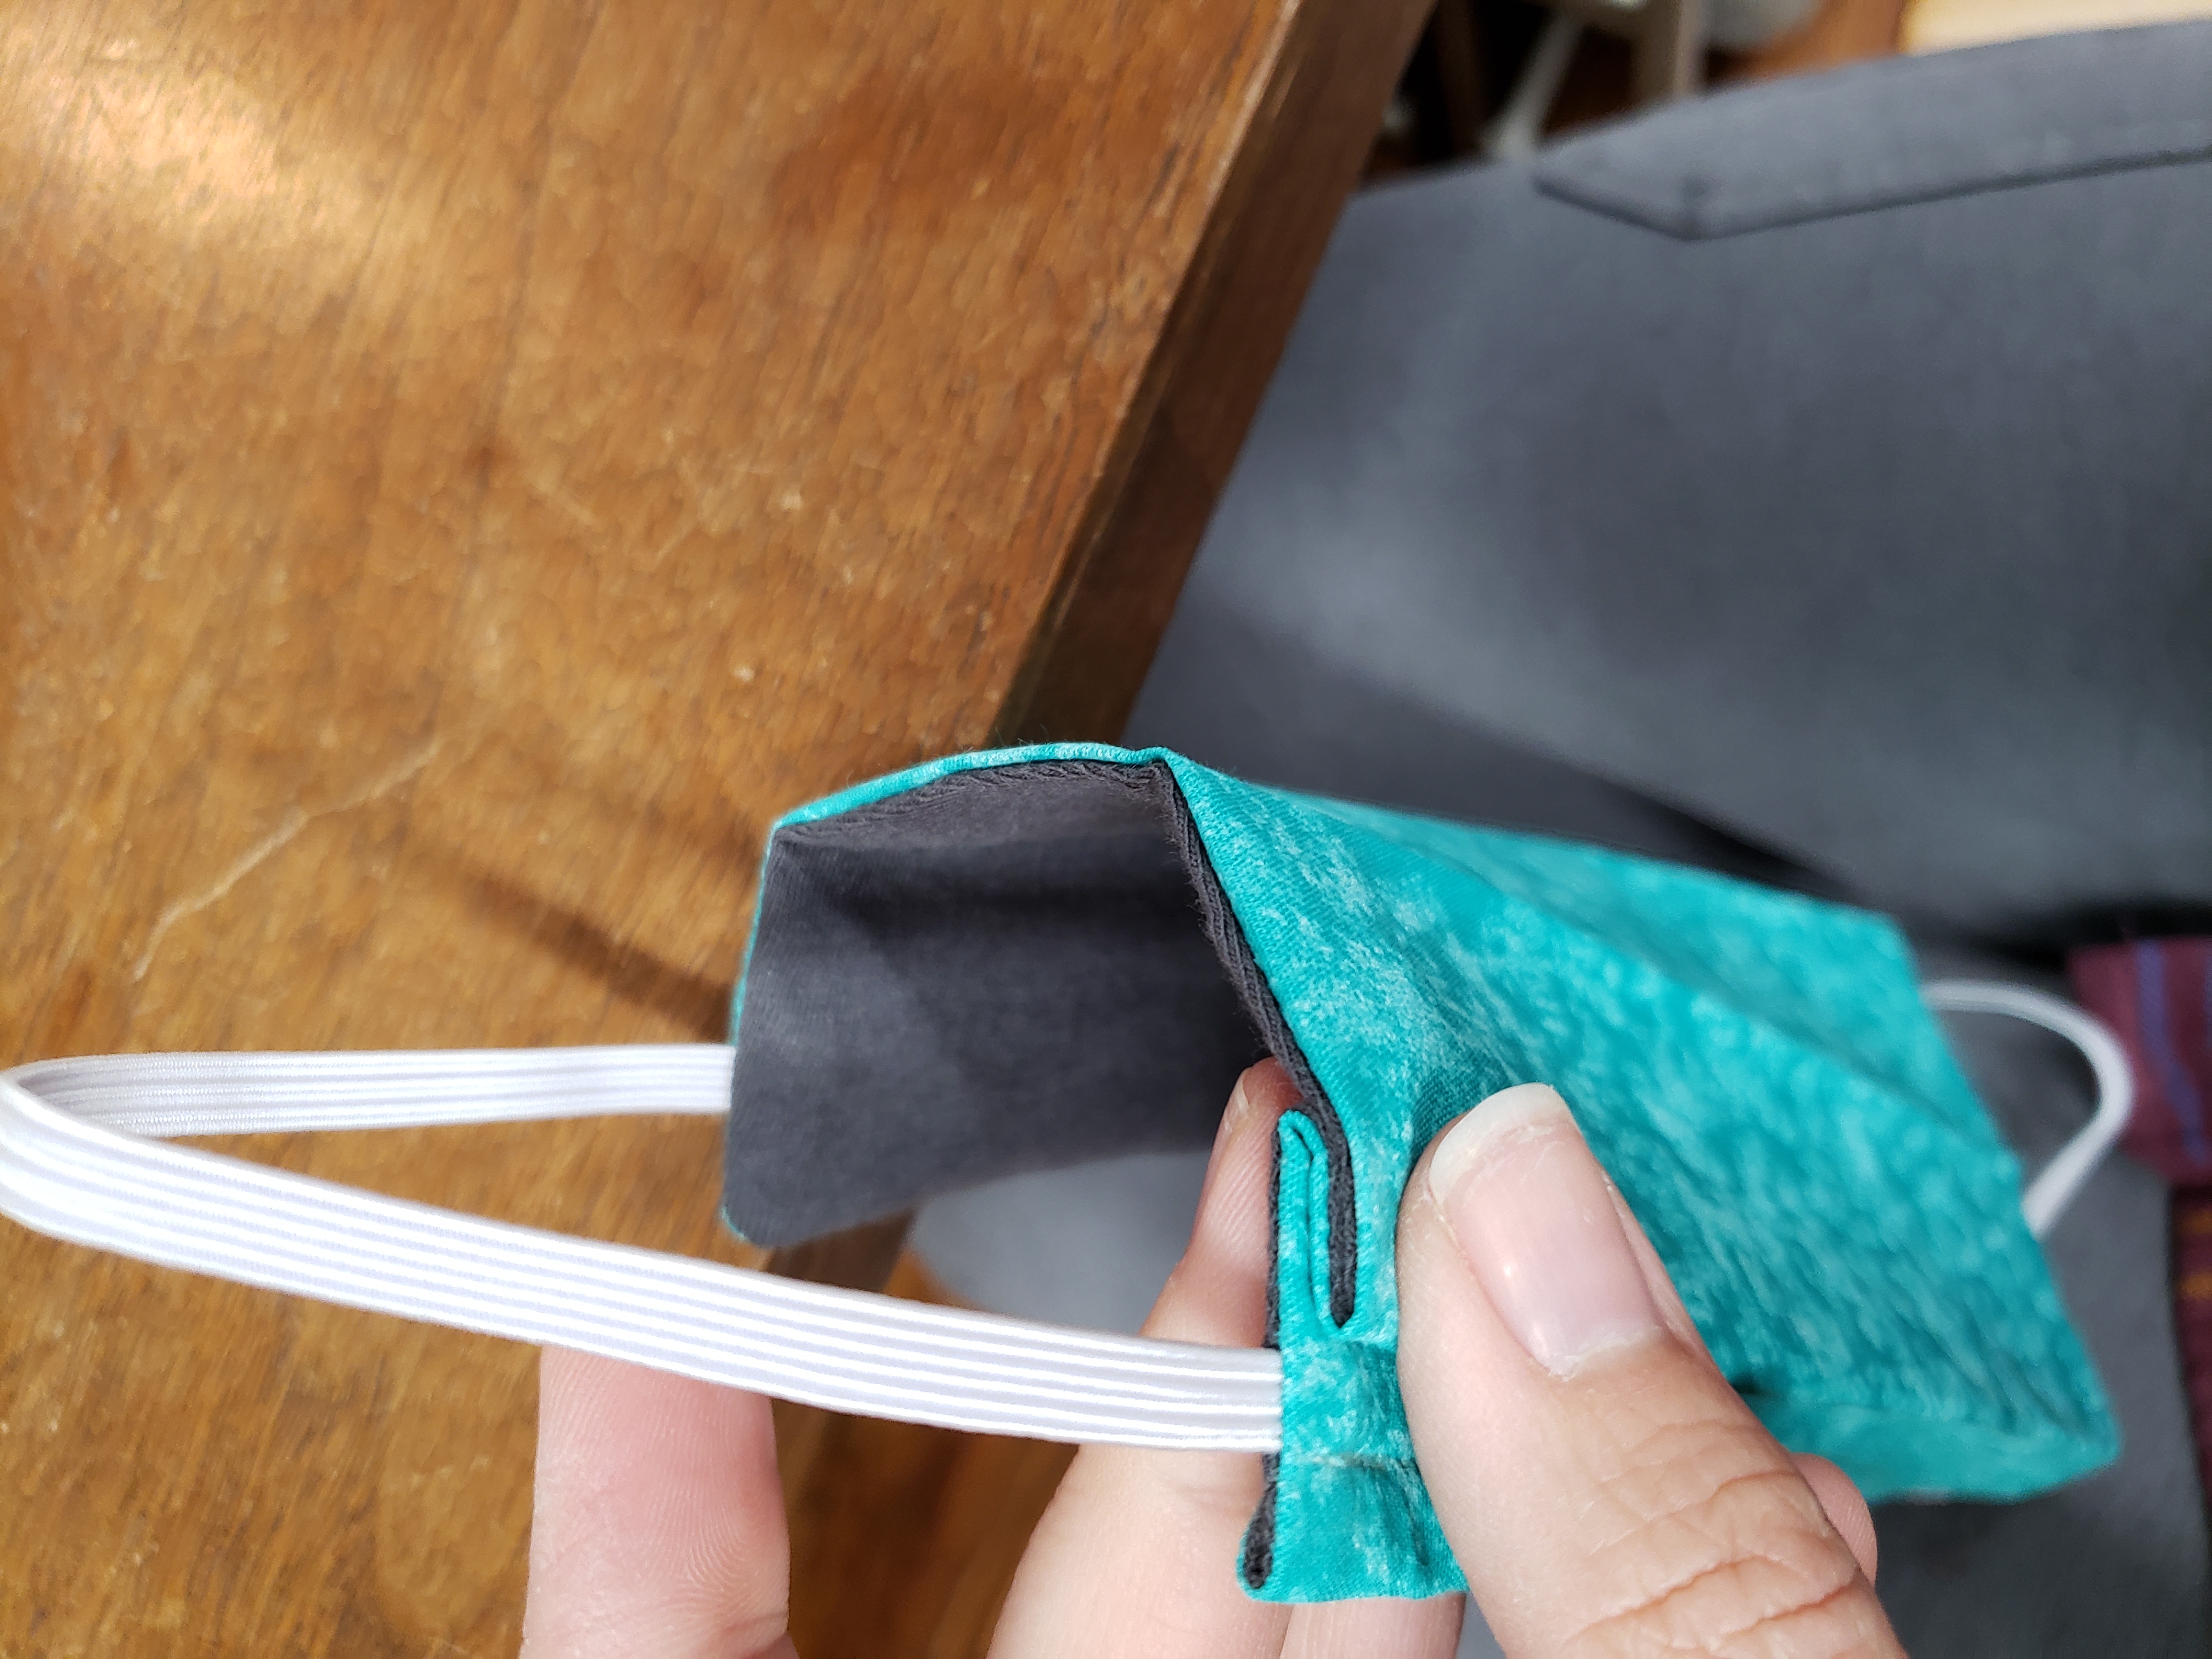
2 – In the seam allowance on the back of the stiffer layer, mark where you want to attach the elastic. I go up a bit from the bottom, and down from the top far enough that it will be just below the fold for the wire pocket.


3 – cut elastic to desired lengths. This will depend on which elastic you’re using, but 7″ per side works for a medium-size mask with what I’ve been using (loose on me but still functional, the right size for most folks I’ve talked to).
4 – Sew around the edges, leaving a gap at the bottom for turning, and insert the elastics as you go, with the loop on the inside. I leave a presser-foot-width seam allowance. If using jersey, I find it much easier to sew with the cotton side on top, since the jersey stretches a bit.
I use long needlenose pliers to make it easier to position the elastic where I want it. The elastic is shorter than the distance between the attachment points, so I found it easier to position as I go rather than trying to pin ahead of time. If using round elastic, sew over it a few times to ensure it’s secure.


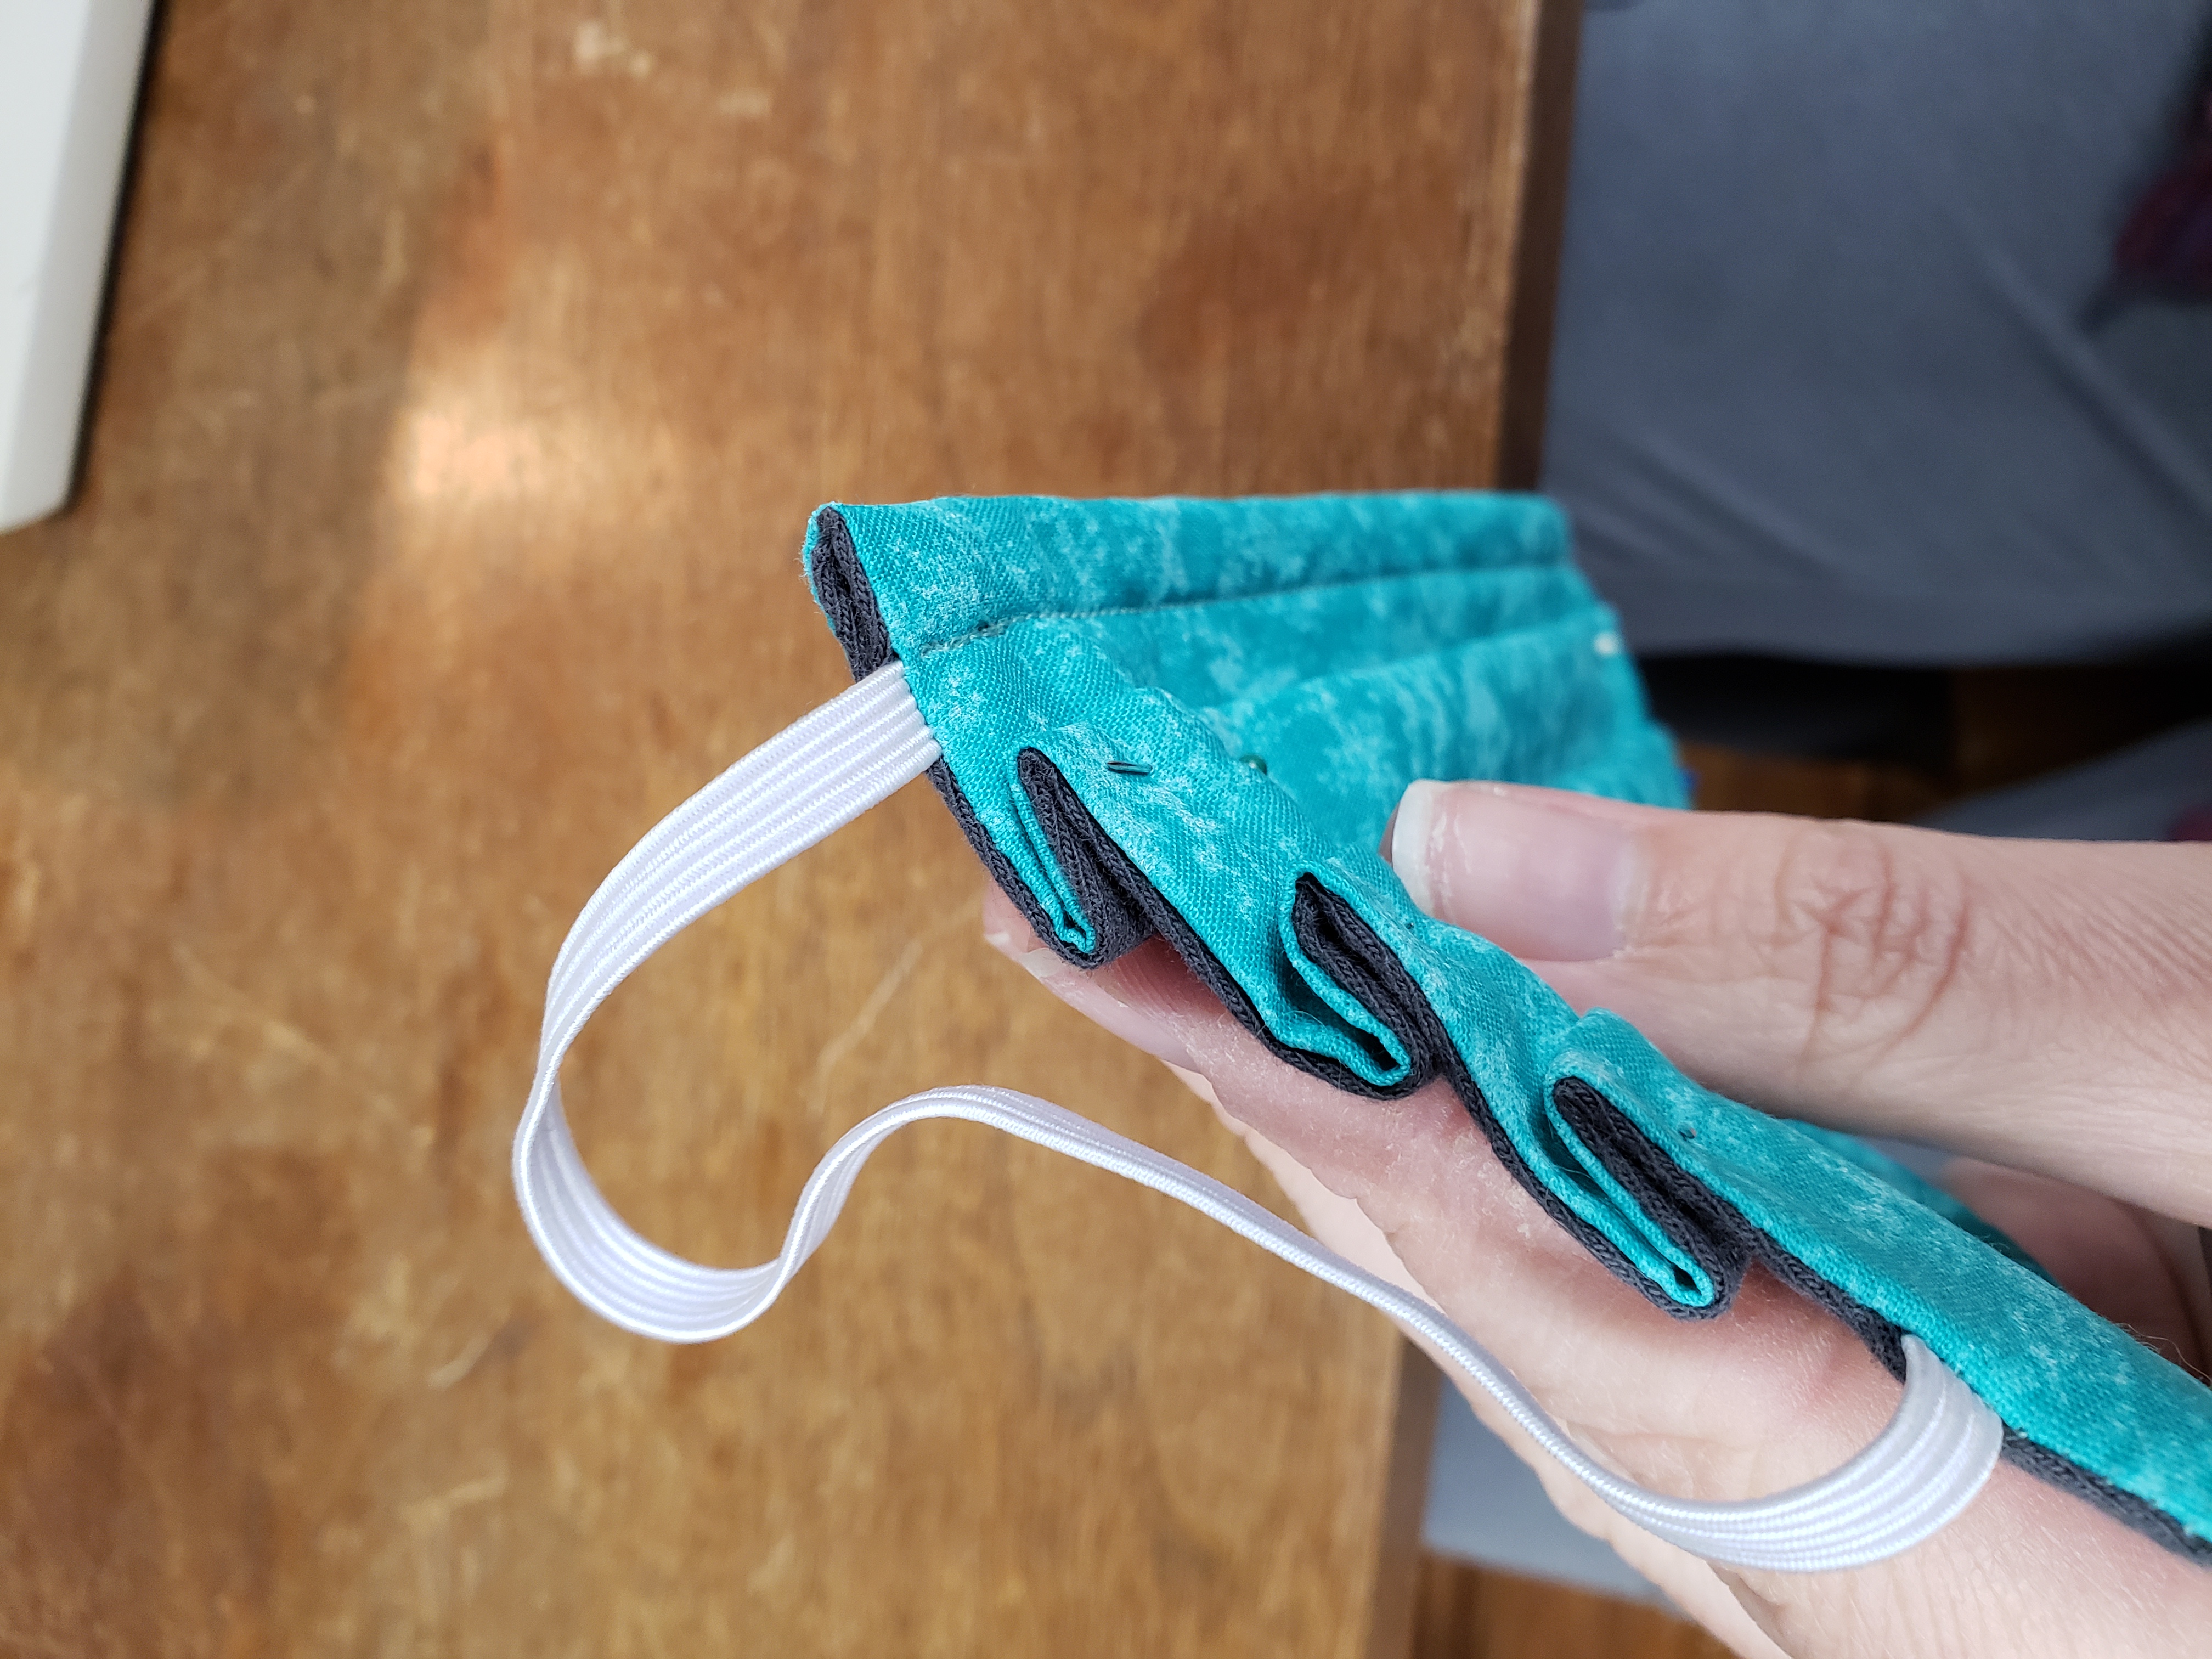
5 – Clip the corners, then flip right-side-out. Push out the corners so they’re crisp.


6 – Iron the seams (be careful of the elastic if it isn’t heat resistant – I’ve melted several!). Fold the top seam over about 1/4-1/3″ onto the back and iron well. Then sew it down as close to the bottom edge as possible to leave a pocket to slide the nose wire into.

7 – Iron 3 pleats into the mask. I iron in half, then the top in quarters. I iron the bottom at slightly less than a quarter. Then use these as guidelines for pinning. With the pleats, I aim for 3-4″ height.


8 – Top stitch around the remaining 3 sides, making sure to leave the ends of the top pocket open, and making sure the gap in the bottom seam is fully closed.


9 – Wash (I use cool water with unscented detergent, then dry in the dryer on medium heat). Then I re-iron the pleats because I don’t like wrinkles.
 Â Â
  